• Skip to primary navigation
  • Skip to main content

Keeping it Simple

creating simple crafts, DIY, recipes and more

  • About Me
  • Advertise
  • Buttons
  • Contact Me
  • Keeping it Simple Designs
  • Privacy Policy
  • Tutorials
  • Home Decor & DIY
  • Recipes
  • Holiday Crafts
  • Gaming & Geek Crafts
  • Printables
  • Kids Crafts
  • Sewing
  • Vinyl Crafts

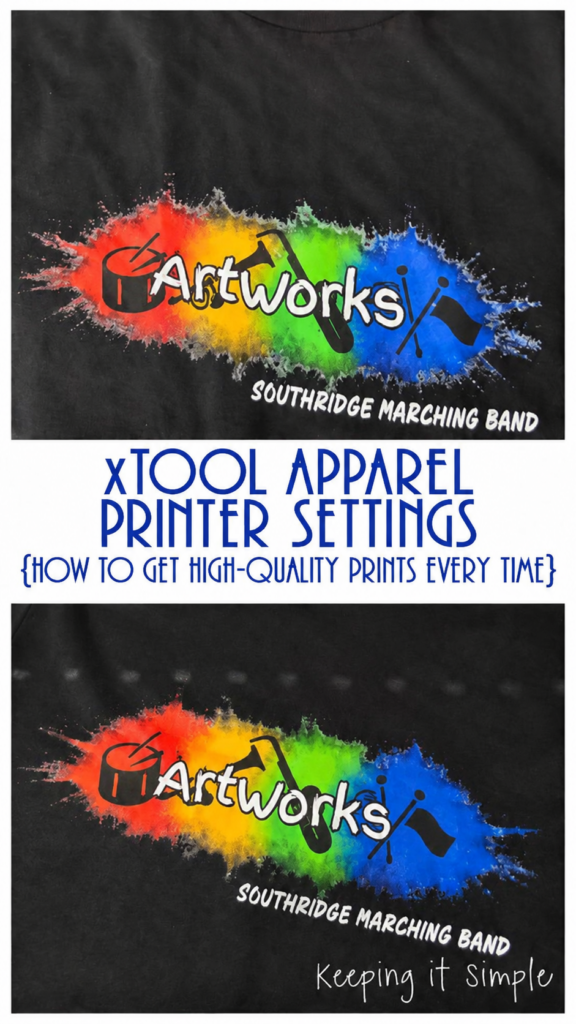
xTool Apparel Printer Print Settings- How to Get High Quality Prints Every Time

November 15, 2026 By Kaysi 1 Comment

xTool Apparel Printer Print Settings- How to Get High Quality Prints Every Time

Have you ever printed a design with your xTool Apparel Printer and wondered why the colors didn’t turn out quite like you expected? Maybe your print looked a little dull, the details weren’t as crisp as you wanted, or you just weren’t sure which print settings to choose.

You’re not alone!

One of the biggest things I’ve learned while using the xTool Apparel Printer is that the right print settings can make a huge difference in the final result. Even the best designs won’t look their best if your settings aren’t right.

The good news? You don’t have to be a printing expert to get beautiful, vibrant, professional-looking results!

In this guide and video, I’m going to walk you through the different print settings available on the xTool Apparel Printer, explain what they actually do, and share tips to help you choose the best settings for your projects.

Whether you’re making shirts for family and friends, creating custom gifts, or running a small apparel business, understanding these settings can help you get more consistent results while wasting less ink, film, and time.

Let’s break down the settings and take the guesswork out of printing!

Why Your Print Settings Matter

When it comes to DTF printing, your design is only part of the equation. Your printer settings help determine how your finished transfer looks, including the color, detail, and overall print quality.

Choosing the right settings can help you:

  • Get brighter, more vibrant colors.
  • Produce sharper details and cleaner lettering.
  • Improve consistency between prints.
  • Avoid wasting expensive materials on reprints.
  • Feel more confident when printing different types of designs.

Now, let’s take a closer look at the settings and when you should use each one.
…
Read More

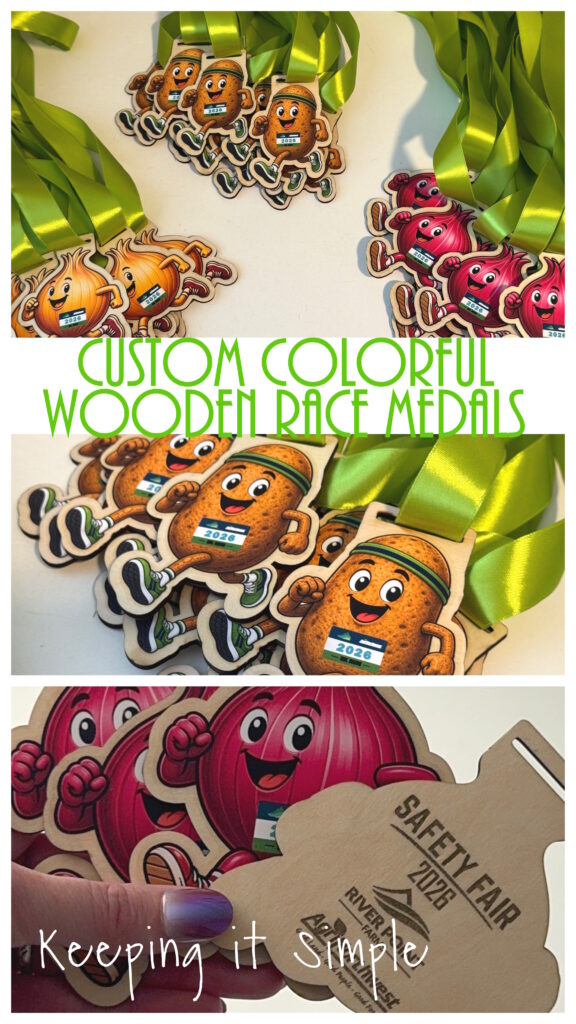
Custom Colorful Wooden Race Medals

August 21, 2026 By Kaysi Leave a Comment

Custom Colorful Wooden Race Medals

When it comes to making custom race medals, I love the look of wood—but sometimes I want a little more color than engraving alone can give me! My husband’s company asked me to make some fun medals for their fun run, so I wanted to create fun, colorful medals that matched the personality of the event without making the process overly complicated.

By combining my xTool S1 with my xTool DTF apparel printer, I was able to get the best of both worlds: the natural look of a wooden medal with bright, full-color artwork on the front. And the best part? They were actually really simple to make!

In this post, I’ll show you how I made these custom wooden race medals from start to finish and share a few tips I learned along the way.

…

Read More

How to Install the Internal Humidity Module in the xTool Apparel Printer

August 15, 2026 By Kaysi 1 Comment

How to Install the Internal Humidity Module in the xTool Apparel Printer

xTool just launched a new apparel printer and in it there are a few upgrades that helps the machine run smoothly. For the people who bought the apparel printer before the apparel printer plus came out, they are offering to send them the upgrade kit for free. One of the things that comes into the upgrade kit is the is the internal humidity module and the other thing is the white ink damper kit. Those have not been shipped out yet (coming in November). The internal humidity module is available and I have a video to show you how to install it.

…

Read More

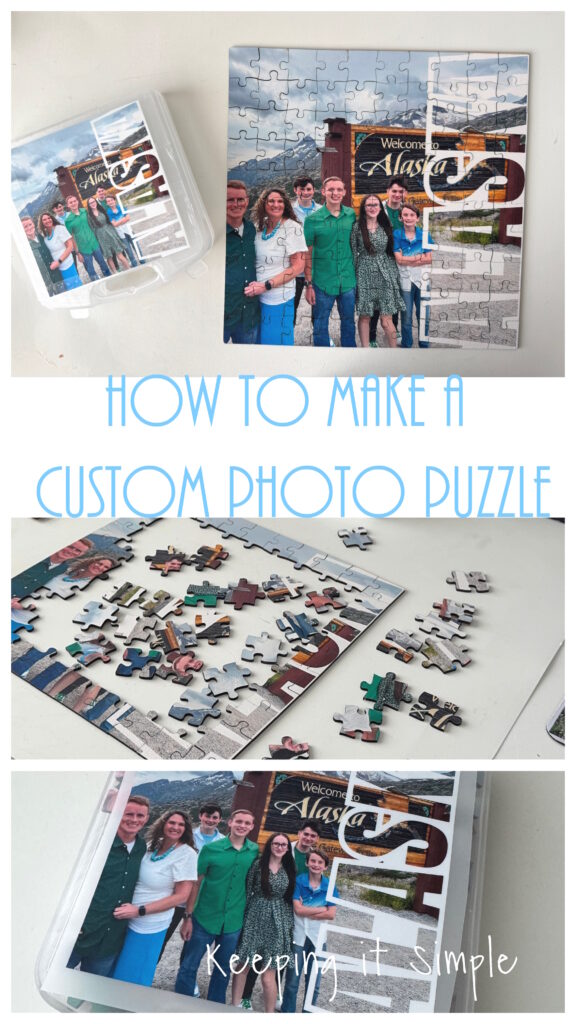
How to Make a Custom Photo Wooden Puzzle {How to Put a Photo Inside Text in Canva}

August 13, 2026 By Kaysi Leave a Comment

How to Make a Custom Photo Wooden Puzzle {How to Put a Photo Inside Text in Canva}

Some of my favorite projects are the ones that turn special memories into something you can actually use and enjoy. After our trip to Alaska, I knew I wanted to do something fun with one of our family photos instead of just letting it sit in my camera roll.

I decided to turn it into a custom photo puzzle, but I wanted to add a little something extra to the design. Using Canva, I created a large ALASKA word cutout along the side of the photo, and I love how it turned out!

In this tutorial, I’ll show you how to create the word cutout effect in Canva and turn your finished design into a personalized photo puzzle. It’s easier than it looks and would work for vacations, family photos, gifts, or any special memory you want to turn into a keepsake.

…

Read More

See More →

Copyright © 2026 · Foodie Pro & The Genesis Framework